A walkthrough of how to build your custom Python package using uv without publishing it (2026 update).
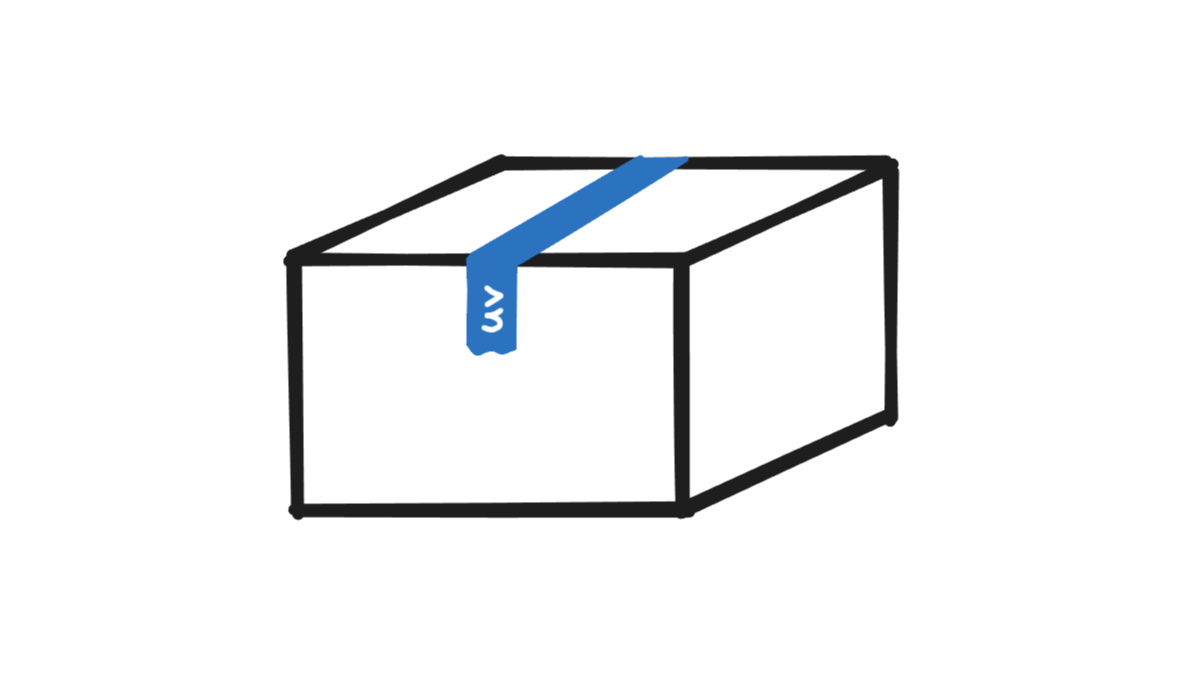
Blink and you’ll miss it. Astral’s uv is a performant package & project manager that’s out to replace all the competing tools.
In this blog post, I’ll walk you through a minimal example of how to build your own Python package without uploading it to the internet. While it’s great to get feedback from others when sharing your code, there may be simple reasons why that might not be desirable. For instance, if you’re building an internal package at work or testing something out, it’s usually not for sharing.
Get started
Let’s start by installing uv on your machine. There are multiple installation methods outlined in the uv documentation. Perhaps the most convenient method is to use the standalone installer.
Once uv is installed (v0.12.5 used), choose a folder where you want your project to be, open your terminal of choice and initialize the project by running:
uv initNow, the directory of your project should look like this:
my_internal_pkg/
├── src/
│   └── my_internal_pkg/
│       └── __init__.py
├── .gitignore
├── .python-version
├── pyproject.toml
└── README.md
As we can see, uv init created multiple files and a folder while also initializing the project as a git repository.
The important file to focus on is pyproject.toml which is used to configure the project that you initialized just a moment ago. Let’s take a peek at the default structure of this file:
[project]
name = "my_internal_pkg"
version = "0.1.0"
description = "Add your description here"
readme = "README.md"
authors = [
    { name = "Your Name", email = "your@email" }
]
requires-python = ">=3.12"
dependencies = []

[project.scripts]
my_internal_pkg = "my_internal_pkg:main"

[build-system]
requires = ["uv_build>=0.12.5,<0.13.0"]
build-backend = "uv_build"
Most of the settings in your pyproject.toml are generated and managed by uv. Of course, all settings in this text file can be modified manually. Let’s leave these settings unchanged for now.
Package contents
As a minimal example, let me create a simple Python script that calculates rolling minimum and maximum values for a given column in a polars dataframe. If you’re unfamiliar with polars, consider reading my guide on how to get started with polars as a pandas user.
First, let’s install polars and set it as a dependency for the package. Open up the terminal in the project’s folder and run:
uv add polarsThis command installs the package in a virtual environment (.venv folder) and modifies pyproject.toml by adding polars as a dependency. If we take a look at the pyproject.toml file now, the dependencies setting should look like this
dependencies = [
    "polars>=1.43.2",
]
Now, let’s write the function that calculates rolling min and max values—I’m going to place this function in a script named df_helpers.py. Here’s the updated file tree:
my_internal_pkg/
├── src/
│   └── my_internal_pkg/
│       ├── __init__.py
│       └── df_helpers.py
├── .gitignore
├── .python-version
├── pyproject.toml
└── README.md
Keeping it really simple, below is the rolling min max function I placed in the df_helpers.py Python script:
import polars as pl


def rolling_min_max(df: pl.DataFrame, col: str, window: int = 3) -> pl.DataFrame:
    """Get rolling min and max values of a specific column"""
    return df.with_columns(
        pl.col(col).rolling_min(window_size=window).alias(f"{col}_roll_min"),
        pl.col(col).rolling_max(window_size=window).alias(f"{col}_roll_max")
    )
Now that we have something to turn into a package, we’re almost set. There are some final touches we need to make to the pyproject.toml file.
Finalizing pyprojects.toml
Since this tutorial is aimed at building your package locally, consider adding classifiers = ["Private :: Do Not Upload"] into the [project] section in the config file. This labels the package as “private” and adds another layer of defense against accidentally publishing your package to the official PyPI repository (see link).
We’re almost at the finish line. For completeness, the final pyproject.toml file should look like this:
[project]
name = "my_internal_pkg"
version = "0.1.0"
description = "Add your description here"
readme = "README.md"
authors = [
    { name = "Your Name", email = "your@email" }
]
requires-python = ">=3.12"
dependencies = [
    "polars>=1.43.2",
]
classifiers = ["Private :: Do Not Upload"]

[project.scripts]
my_internal_pkg = "my_internal_pkg:main"

[build-system]
requires = ["uv_build>=0.12.5,<0.13.0"]
build-backend = "uv_build"
Build
With pyproject.toml set up, we should now be able to build the package. What’s going to happen now is that the build command will create a folder named dist/ in the project’s directory. Inside this folder, we’re going to see our package in a .tar.gz (source distribution) and .whl (wheel) format. While the difference between these is beyond the scope of this post, if you’re going to be distributing your package locally—to other colleagues or your other systems—consider using the .whl file because it simplifies the process of installing the package. Note that both of these are ultimately archives, so you can take a look inside each to see the differences. To learn more about this topic, I would recommend reading this excellent article on Real Python.
Enough stalling, let’s build the package. Open up your terminal in the project’s directory, and run:
uv buildIf successful, the dist/ folder should pop up and the two distributions should be inside:
dist/
├── .gitignore
├── my_internal_pkg-0.1.0.tar.gz
└── my_internal_pkg-0.1.0-py3-none-any.whl
Install
To install the package, grab the .whl file and place it wherever you need it installed. You can use uv to install the package by running
uv add "path/to/my_internal_pkg-0.1.0-py3-none-any.whl"That’s it?
That’s it. We’ve built a Python package from scratch using uv.
You should now be able to import your package in the environment you installed it in using
import my_internal_pkgThis was just a minimal example of how to get started building packages. Consider browsing through repositories of popular Python packages to see how they do it. Additionally, for a tutorial on how to publish your package, take a look at uv docs.
If you have any suggestions or corrections, feel free to let me know in the comments on GitHub!